
A while back I bought one of those 25 pound bags of flour from Costco...
"HA!" I thought. "It will take me FOREVER to use all that flour!"
But then... Well... I discovered the easiest and most delicious recipe for crusty bread. The kind of bread I would eat all day long if I could, but don't want to shell out $4 a loaf for.
And it takes 7 cups of flour every time I make a few loaves so... Yeah, we went through that 25 pound bag sooner than I expected.

First, make sure your kids are still in their pajamas. Because getting dressed is for lunatics.
Actually I didn't feel like finding their aprons, and if they were in their pajamas I knew I could just throw those in the wash if they got dirty!
(Cecilia's holding a crayon pouch - she was planning on drawing a picture)

Instruct kids to add 7 cups of flour to mixer.

Check to see if noises coming from baby are happy or sad. Verdict? He's fine.

Return to slightly guilty floury faces.

Turn a blind eye when they start sampling the salt...

It's only a tiny bit, right?

Remind them that raw bread dough does NOT taste good. They eat it anyway. Happily...

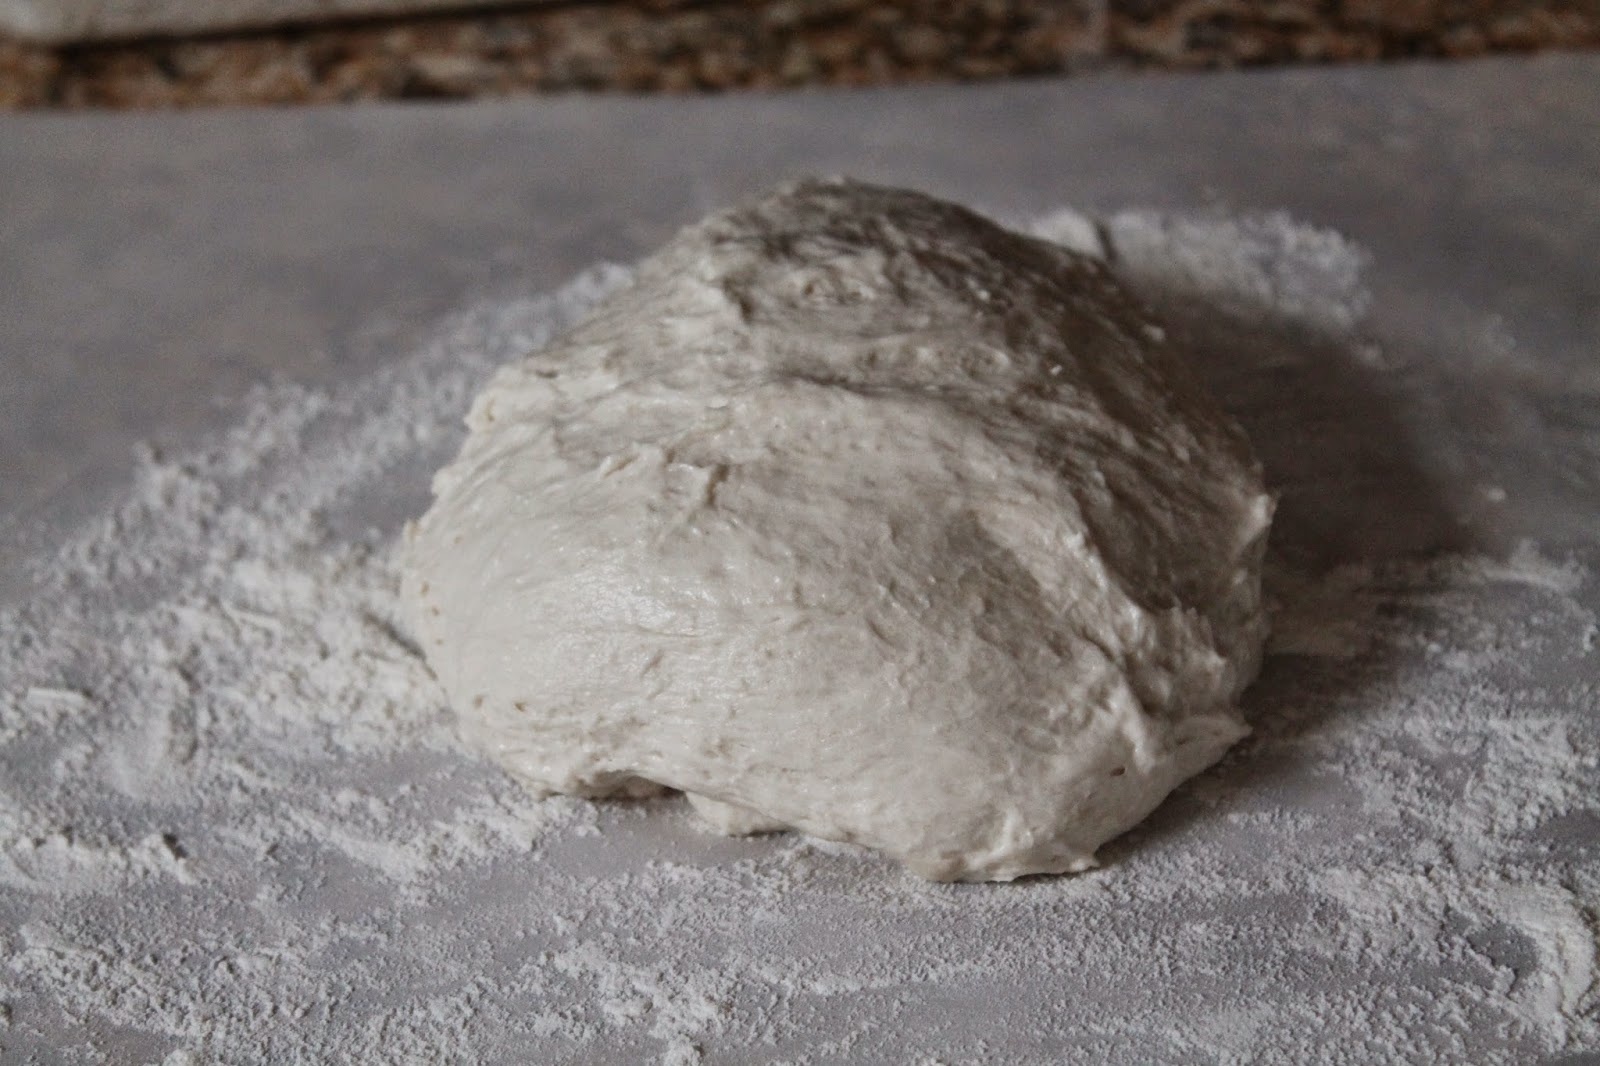
This is what it looks like when you've just finished mixing - super sticky, as you can see!

Check on the toddlers, who have been surprisingly quiet...

Promise to take a picture of them hugging. As you can see, Elizabeth is REALLY into it. Mary Claire? Not so much.

2 hour rise on the counter

At least 2 hours (up to 7 days!) in the fridge
Break off a chunk (this was about half the dough) and let it rise for 45-60 minutes

Preheat oven to 450 degrees for at least 30 minutes with pizza stone (if you have one, flipped over cookie sheet if you don't) on center rack and broiler pan on bottom. Wet a serrated knife and make a few slashes in the top of the bread. Then toss the bread in and pour 2 cups of ice cubes into the pan - this allows for steam which keeps the bread from getting too hard, but gives a really nice chewy crust.

Take it out after 30ish minutes and marvel at the beauty. Let it cool for as long as you can stand it... Then slice and enjoy!
 |
| This is half the dough, which was good for grilled cheese for 6. 1/3 of the dough is usually perfect as a soup accompaniment for us. |
This bread works great for sandwiches, since I like something with more substance than grocery store bread. And it's perfect for dipping in soups, which we'll be eating more often once Lent arrives. I'm planning on making at least one batch per week from now on, maybe two - it's fool-proof and delicious!
For a detailed & printable recipe, click here - it'll walk you through it so you CAN'T mess up! If you just want a quick rundown, here it is:
7 cups flour
1 tbsp salt
1.5 tbsp yeast
3 cups lukewarm water
Mix ingredients in large bowl until all dry ingredients are incorporated.
Cover bowl (with room to rise approximately double size) and allow to rise at room temperature for 2 hours.
Move to fridge and continue rise for at least 2 hours, up to 7 days.
Pull off the amount of dough you'd like to bake and allow to rise for at least 45 minutes on a piece of parchment paper.
(Just do yourself a favor and buy a giant roll of parchment paper - I promise, you'll use it ALL the time!)
Meanwhile, preheat oven to 450 with pizza stone (or overturned cookie sheet) on center rack and broiler pan on bottom rack.
(We have this pizza stone and use it all the time!)
Transfer bread (sprinkle it with kosher salt first if you're feeling fancy) & parchment paper to pizza stone (use a wooden cutting board for easy sliding), pour 2 cups ice cubes OR one cup boiling water into broiler pan, and bake for 25-35 minutes. Try to let it cool enough that you don't burn yourself before you slice it!
Perfect, right? Right.
Some links in this post are affiliate links - thank you for clicking and making any purchases through my links to help keep my kids in workbooks!
Hello Rosie! Thank you for your helpful blog and instagram. I tried your pizza dough last Sunday and it was a life-changer. I'm going to try this bread, but I don'tunderstand the water in the broiler pan.. where do you put the broiler pan (what is it?) and is it really necessary? Thank you!
ReplyDelete